As a request by Camille, here's a diy about making a belly band for your invites.
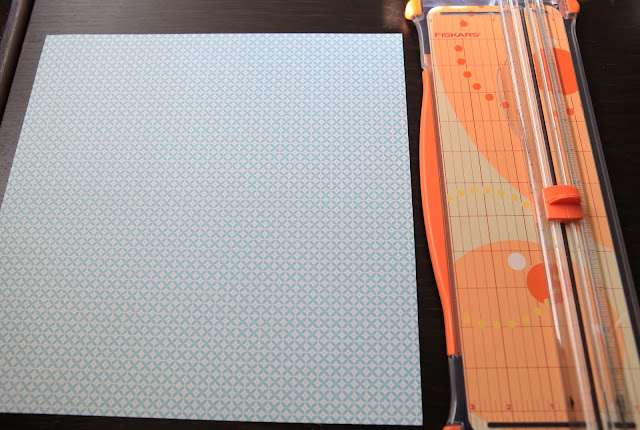
Making a belly band for your invitations can be as simple as having the right paper and a paper cutter. Really. Depending on the size of your invitation, an 8.5 x 11 is usually okay. You can also use a 12x12 cardstock/scrapbook paper like this.

An even easier option is using a wide ribbon like this, and attaching your monogram or wedding label.

To custom make your belly band like this one, here's a step by step using Word.

1. Open your Word Document. Choose Landscape orientation from Page Setup under File
2. Using your Object tool, make a rectangle like I have done below. Change the Fill setting to none and Line setting to 0.5 and change the colour to light gray -- Just enough so you can see the line. These will be your guideline for cutting.

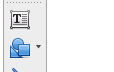
3. Now, using the text box tool, add your desired text. You can also add an image on the sides to make your belly band more interesting as shown in the above picture.

5. Now, you see those lines on the side that complete your rectangle? Sometimes, you don't want that to appear on your printing. What you can do is replace the rectangles with the Line Tool to make your straight lines like what I've done with this next picture.


Here are the separate pieces to see them more closely. As you see, I used a picture of an acorn all around my belly band and used paper glue to connect them. I also used a ribbon on top of my belly band.


10 comments:
Wow, requesting works! Thanks for the DIY AND adding the word Belly Band to my vocabulary.
Hello Jana
i was like a crazy women looking for a how to do your own belly bands. ...But im trying to do it and i dont quite get how to. ...Im wondering if you did it in mac or pc. .And if that even matters? Thank u
=]
Hi Chiara,
I did this on my Mac with a Word Program, but I actually think it should be easier with a PC. I am actually just learning how to use Word on Mac and it's not as easy as it used to be with my old pc.
Use the Object tool to create your rectangles as a guideline for your belly band. After you're done inputting your texts and design, you can delete the rectangle you created and replace them with lines using the Line tool as guidelines for cutting. If you're really having difficulty, I can email you a Word document to start with, but it may open differently depending on the Word version you're using. Goodluck!
Jan
Hello Jan again
Thank you for getting back to me ....Well I tryed,tryed and tryed but nothing I just cant get it =( . Would you be able to send me the word document I would greatly appreciate it .
stressed bride
Chiara ncbermeo@aim.com
Hello Jan
I just wanted to thank you so much for your help with my belly bands they came out awesome ...Thank you again
CHiara
glad to hear that =) you're welcome!
Hi! Thanks you for this! I am struggling to get my belly band to worked. Can you please email me the template you used? Can I print it out on cardstock paper? If I get this I will try an invitation next. I am far from crafty! Thank you so much! Srich17@yahoo.com
Hello are you still able to send template ? Thank you bct72088@gmail.com
Hello,
How to you seal the band in the back?
Hello,
How to you seal the band in the back?
Post a Comment